Updated: September 1, 2020
TRENDnet CloudView service will be discontinued on December 31, 2020. The cameras running the app and service reached the end of their service life a few years ago, therefore we have decided to discontinue the cloud service for these cameras on December 31, 2020.
Which cameras are affected?
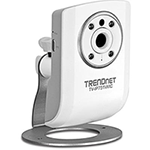
TV-IP743SIC
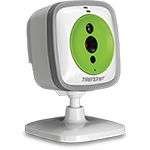
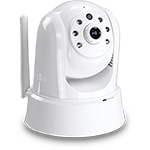
TV-IP745SIC
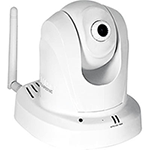
TV-IP751WC
TV-IP751WIC
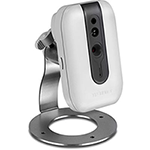
TV-IP762IC
TV-IP851WC
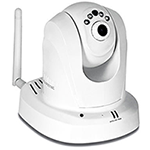
TV-IP851WIC
TV-IP862IC
How is this going to impact me?
After December 31, 2020, you will no longer be able to use the TRENDnet CloudView App to view these cameras' video streams. If you are not using the TRENDnet CloudView App to view these cameras, you will not be affected.
Can I continue to use these cameras?
Yes, you can continue to use these cameras, but you will need to configure your Router, and use the TRENDnet IPView App. Please follow the instructions below.
- Download and install TRENDnet IPView from the Google Play Store or from the Apple App Store.

- Connect your mobile device to the same WiFi network that your camera is connected to.
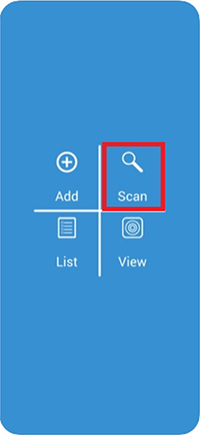
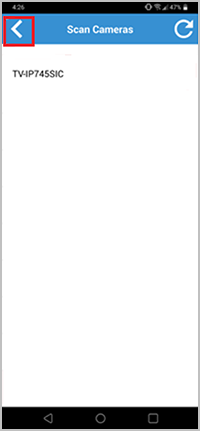
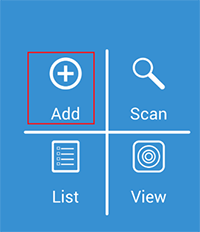
- Launch TRENDnet IPView, and then tap Scan.
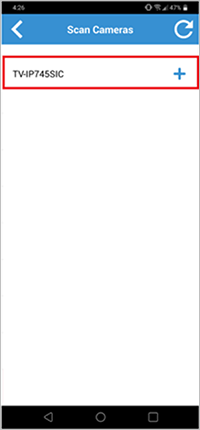
- You should see your camera listed here. Tap the "+" sign to the right of the camera.
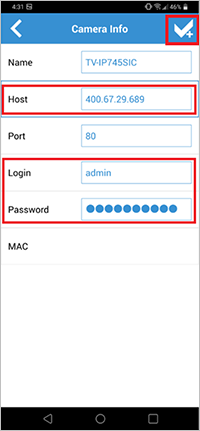
- Write down the Host and Port numbers. The Host number is the local network IP address of your camera, and the Port number is the HTTP communication port. Your Router uses the IP address and Port number to allow you to view the camera's video stream anywhere as long as you have internet access. To do this, from you Router, you will need to setup Port Forwarding (Virtual Server) rules with the camera's IP address and port number. Do not save the camera to the app; exit/close the app.

- For most cases, your camera was automatically assigned an IP address by your Router and the address could change if the Router is rebooted/power cycled. You will want the Router to assign the same IP address (e.g. 192.168.20.120) to the camera every time, and this is normally done using the Router's DHCP reservation feature. Please contact your Router manufacturer for assistance in setting up a DHCP reservation for the camera (Host) and create Port Forwarding (Virtual Server) rules using the camera's IP address and Port number.
To create Port Forwarding (Virtual Server) rules, from a network computer (or your mobile device when applicable), open a web browser, open the Router's configuration page (e.g. http://192.168.20.1), login to your Router, go to Firewall settings, go to Port Forwarding (Virtual Server) settings, and then create a rule with TCP port 80 to the IP address of your camera for the following models. - TV-IP751WC
- TV-IP751WIC
- TV-IP851WC
- TV-IP851WIC
Login to your Router and create one rule with TCP port 80 to the IP address of the camera and create another rule with port 554 also to the IP address of the camera for the following models. - TV-IP743SIC
- TV-IP745SIC
- TV-IP862IC
- TV-IP762IC
Locate your Router's WAN (Public) IP address, and write it down. This is typically found on your Router's status page. You will input the Router's WAN IP address in the app next.
- Launch the TRENDnet IPView app again.
- Tap Scan
- Tap the "+" sign next to the camera
- Change the Host address to your Router's WAN IP address
- Enter your login username and password for the camera
- Tap the Save
 icon in the top right of the app
- To view your camera, tap Back
 .
.
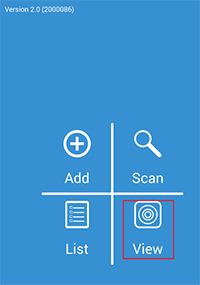
- Tap View.
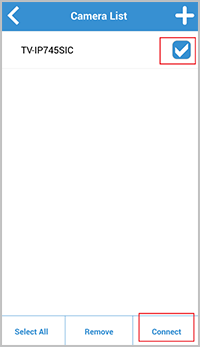
- Tap on the white box to the right of the camera name to check it and then tap Connect.
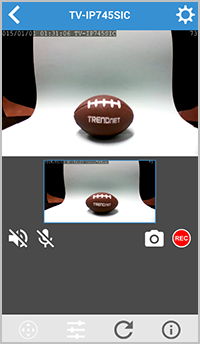
You should now see the video from the camera.
Note: After tapping Save at Step 7 above, if the middle of the screen shows a spinning ball icon for more than 10 seconds, this means that your Router most likely does not allow you to view the camera from the local network using the router's WAN IP address. Click HERE for additional instructions.
- Tap Back , repeat Step 7, but do not change the Host Address, and continue adding the camera. The camera you just added to the app is for local viewing only, meaning that you can only view this camera when your mobile device is connected to the same network as your camera.
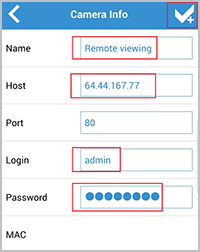
- To add the camera in the app for remote viewing, close the app, turn off your mobile device's WiFi, make sure your mobile device is connected to the mobile network, open the app again, then tap Add.
Type in the name of the camera (e.g. Remote Viewing)
Enter the Router's WAN IP address in the Host
Enter your login username and password for the camera and then tap Save
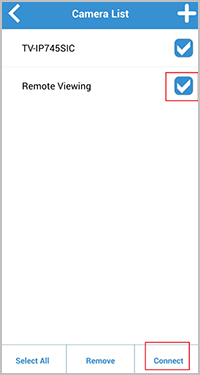
- Tap the white box to the right of the camera name to check it and then tap Connect.
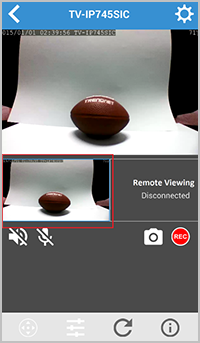
- Tap the small image on the right to bring it on the larger screen on top. You can also rotate your mobile device sideway for full-screen view.
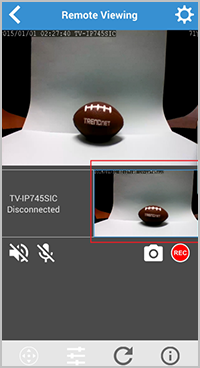
- You can now turn on the mobile device's WiFi and the screen would show the Remote Viewing camera Disconnected. Tap the small image on the left to bring it on the larger screen on top.