
How to choose the best switch for your network!
May 2018Choosing the best switch for your network or project can be a daunting task. Review this basic step-by-step guide on how to choose the best switch for your networking project. This guide will review class types, port requirements, form factors, and basic managed switch features.
Step 1: Choose the class and speed
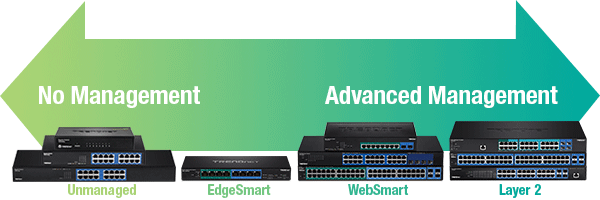
Class
There are several types of switches, each providing different levels of management. Unmanaged switches allow you to expand your network easily with no special configuration or specialized networking knowledge. Unmanaged switches simply increase the number of ports (or available connections) to your network by increasing port density.
Web smart and layer 2 managed switches have additional features such as VLAN support, PoE controls, traffic analysis, and multicast support. EdgeSmart switches are basic web smart switches that offer only the most commonly used management features to help reduce both cost and setup complexity.
There are many different levels of managed switches (and not all are discussed here, such as Layer 3 switches); the type of switch you need and the best switch for your network will depend on the features required for your project. (See Managed Switches 101 for more info on managed switches).
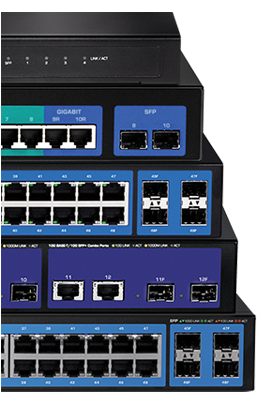
Speed
Required bandwidth will determine whether you need a 10G, 2.5G, Gigabit, or 10/100 switch. Fast Ethernet or 10/100 switches are more cost-effective, but Multi-Gigabit and Gigabit switches can provide better scalability. Choose a speed that is enough for your current project, but plan for the future and consider extra bandwidth.
Specialized Switches
Look for specialized switches, such as industrial switches or AV switches, to meet the unique needs of your custom networking project(s).
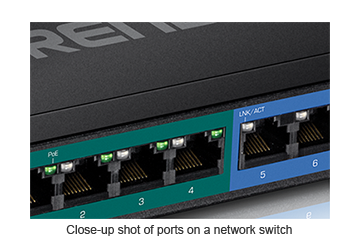 |
Step 2: Choose port count
Determine how many devices that need to be connected in order to identify the number of ports you’ll need. For your surveillance solutions, we recommend reserving 2 additional ports for your NVR and/or network bridge/client.
Step 3: Choose form factor
The form factor that you choose will come down to both your own personal preference and the switch’s application. Desktop and wall-mountable switches are great when you want to save space; they are generally more affordable and are quieter since most desktop and wall-mount switches do not have internal fans. Rackmount switches are ideal when you want to integrate it into a new or existing server room or rack. DIN-rail switches are usually reserved for industrial applications.
Plastic or metal?
Having trouble deciding which type of housing is best for you? Metal switches are more durable, but plastic switches are a cost-effective solution.
 | Step 4: Review the featuresKnowing the class of the switch chosen in step one helps us identify the possible feature set of that switch. However, regardless of class, switches can have varying features, and the features you want will depend on your project’s needs. Review the switch features to make sure you choose the best switch for your network. Unmanaged switches have no management features. Managed switches include a variety of features for traffic management, troubleshooting, access controls, and monitoring. Some common features include LACP, VLAN, QoS, IGMP snooping, and bandwidth control per port. Once you’ve chosen your switch, doublecheck that it offers the features you need, as switches can have differing feature sets even within the same class. |